3. Login
3.1. Login process
Login is done in two steps: the password and the second factor authentication.
The first step looks like this:
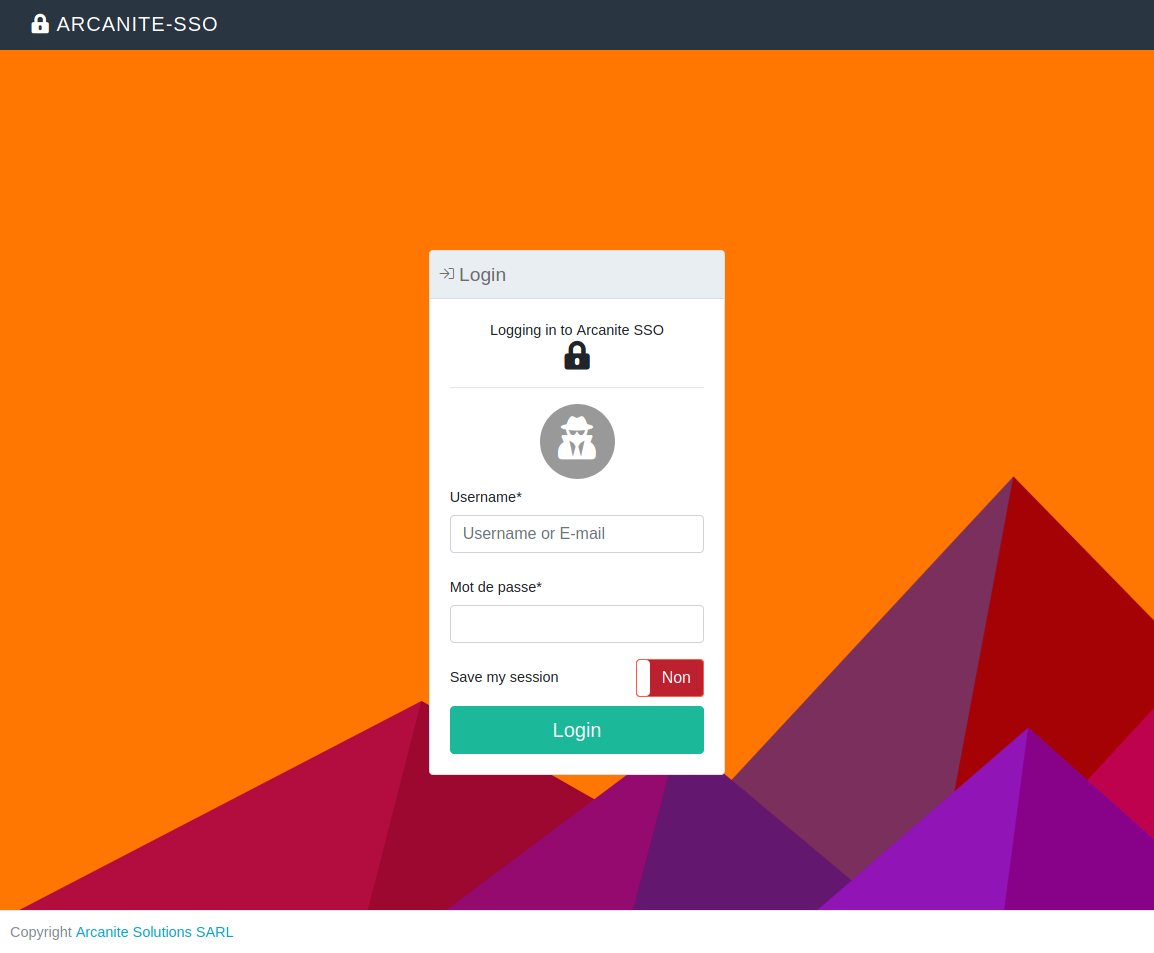
The service you are going to login is displayed at the top of the box.
Please enter your username and your password.
If you want to save your session, check the “Save my session” checkbox.
Warning
You should never save your session on a public computer!
If your password is correct, you will then proceed with the second factor authentication step.

You can choose between activated methods. The SSO is going to remember the last method you used and will propose it as default.
3.2. Login context
When you login, you only login to a specific service. If you don’t save your session, you will be only logged in on the service, even if it’s the SSO. You session on the SSO is different from the session used in the login process, allowing you to control with fine grain where you login, especially useful on a public computer.
3.3. Saving session
Warning
Reminder: you should never save your session on a public computer!
If you save your session, the login page won’t ask you for:
Your username for 7 days
Your password for 24h
A second factor for 1 hour
Note
Some services may change these limits based on administrator configurations, e.g. second factor may be always asked for critical services.
If your username is saved, the login page will look like this:
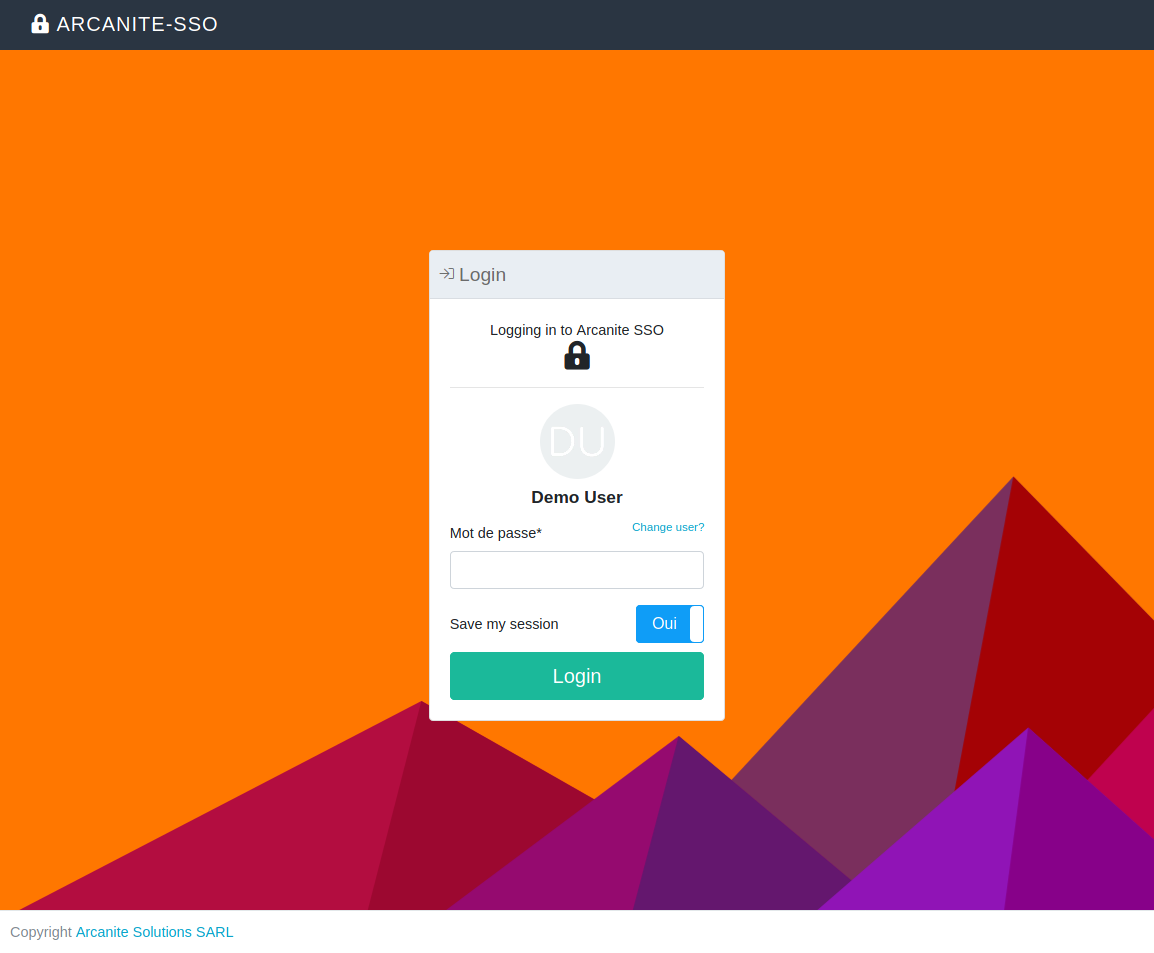
If you want to login with another user, you may use the “Change user” link under your avatar to do so.
3.4. Background
You can change in your user preferences the background used in the second step of the login. This may help you detect some attacks if someone tries quicky to fake the login interface.
Warning
This protection is limited and you should always follow all best practices during login, including checking the hostname during login.